Drypoint is basically: scratch image into a metal plate using varying pressures and angles to create different mark thicknesses, ink the plate so the ink catches the burrs created by the needle, soak paper so the plate creates an impression (like a letterpress effect), then roll it through the printing press. Most of the steps I've photographed so you can see what it looks like.
For my thesis project, I knew I wanted the body of work to span a variety of mediums. I remember drypoint prints being fun, so I decided to make these with some very helpful advising from my printmaking guru dad. (check out his work here. This man is brilliant and having tried some of the methods he uses, I don't understand how he creates these images so flawlessly. I have some *very* spacious shoes to fill. My mom's too––she's not on the interwebs yet but her paintings are incredible. Ah! I love you guys.)
But yeah, this is such. a. fun. method. You can see where my needle slipped a few times, but other than that and some slight burr-blur in the final product, drypoint prints can look pretty sharp. I guess that's an etching needle pun. Ha ha ha

1. Sketch
Settled on a concept that worked for three images as a series: receding lines that form tunnels and arches, columns, or parapet walls at the same time

2. Scratch
This is a twisted etching needle and a copper plate. You can also use zinc or plastic plates

3. Ink ink ink, wipe wipe wipe (with bunched-up cheesecloth)
You want the ink settled into the burrs, but not coating the entire image

4. Soak the paper

5. Place the plate face up on a registration sheet on the print bed
These plates were small enough to put all three on one sheet and print them at once

6. Place your damp (not wet paper) on the plates, then lay the felt blanket over the paper
(to protect the paper as the roller moves over it)

7. Turn the roll
(thanks to the hand crank out of the frame on the left)

8. Lift the paper slowly and admire your prints!
The last step is stapling the still-damp paper to a board to dry it flat, then cleaning the ink off of (and out of) the copper plate.

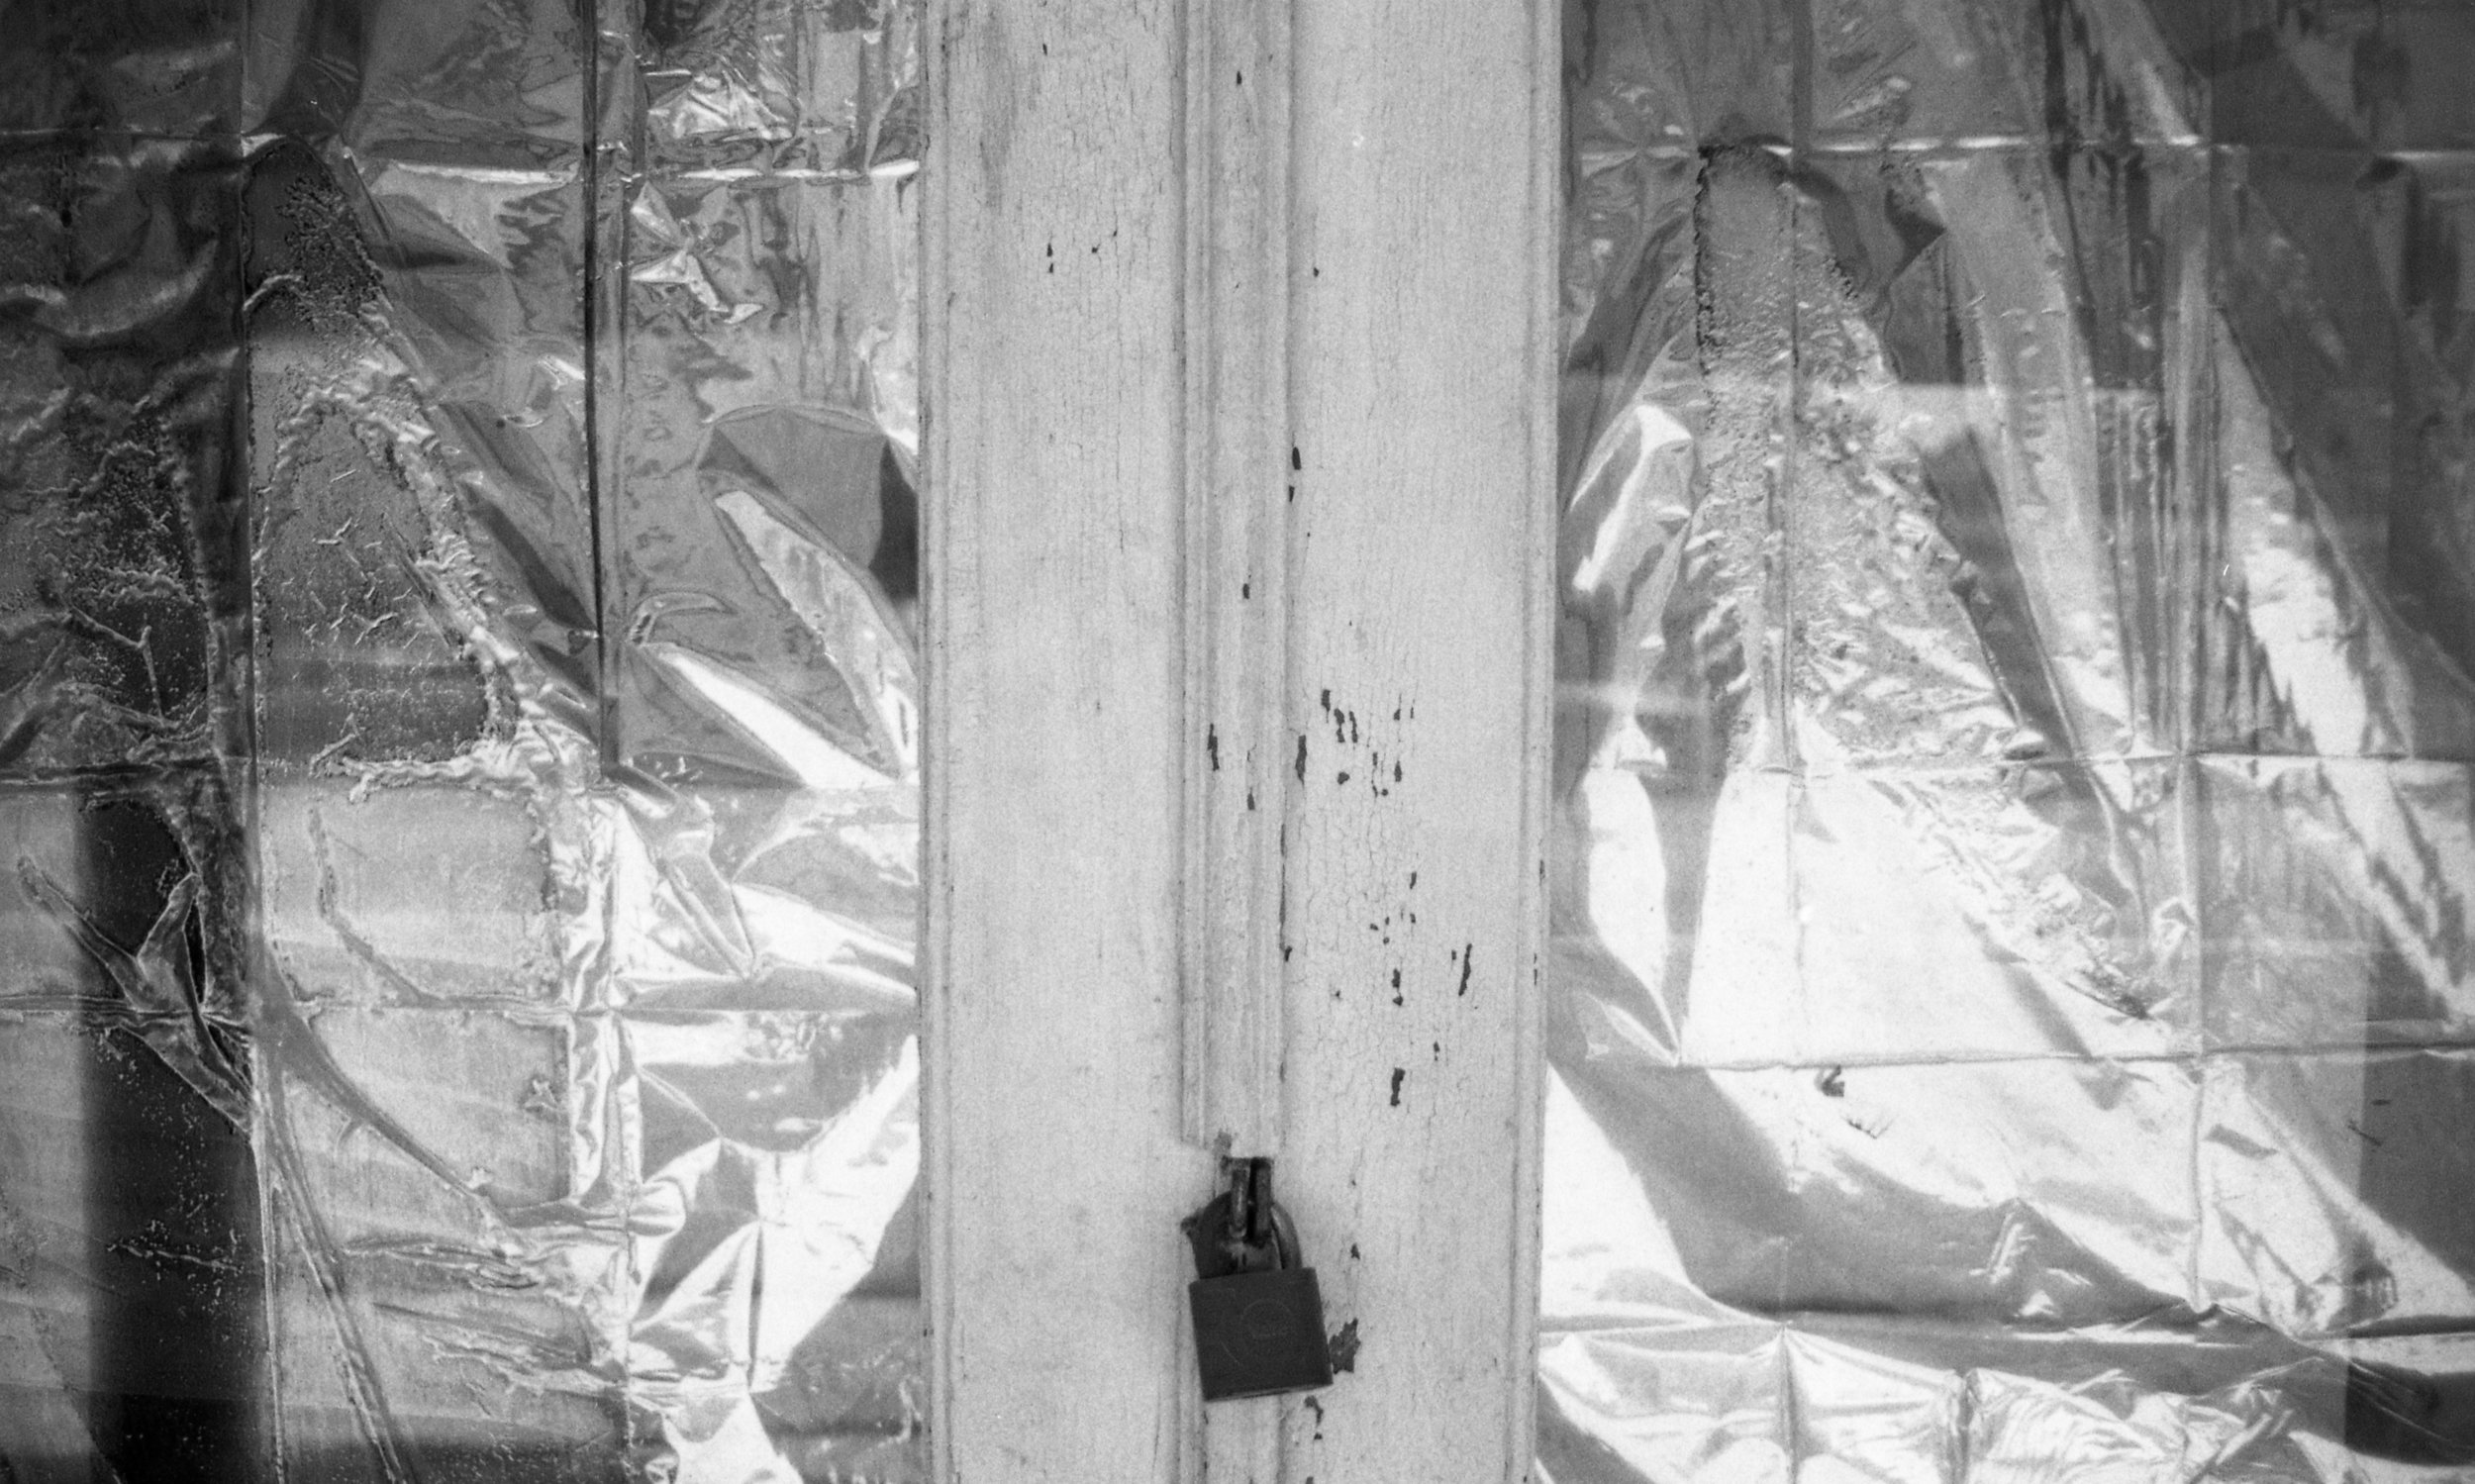
bb drypoint #1

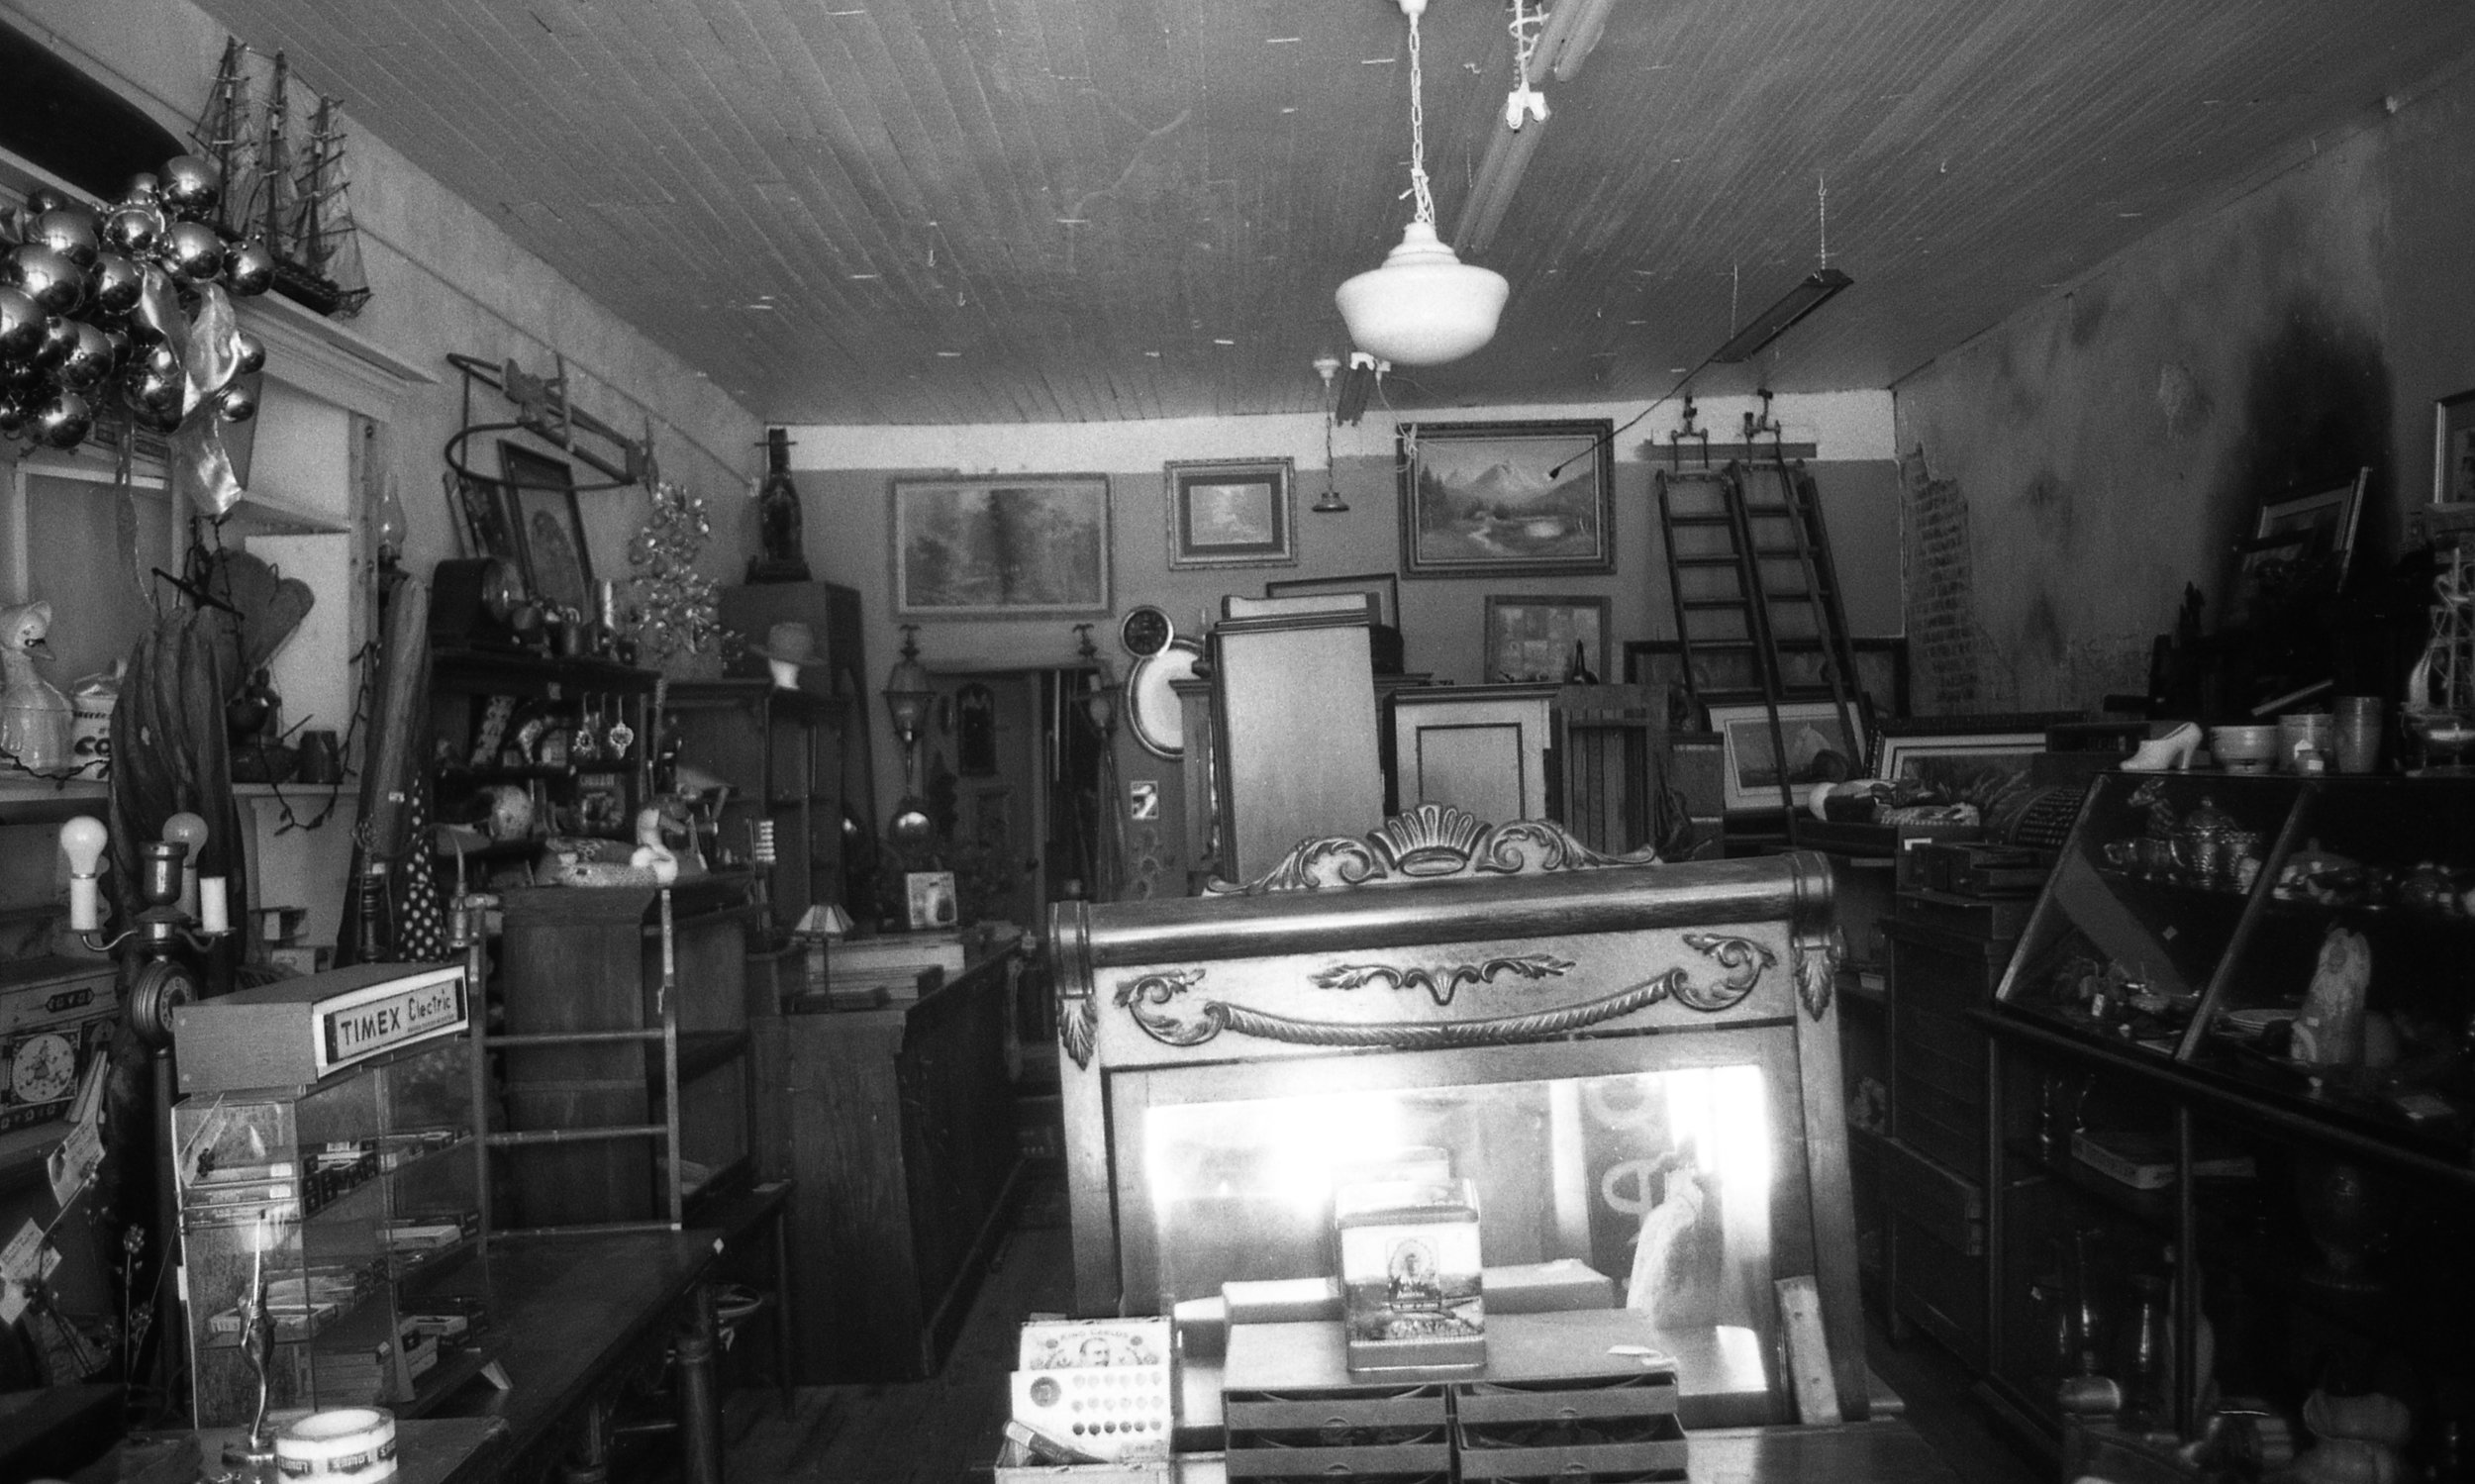
bb drypoint #2